

Raise your hand if you've ever told a student to "sound it out" when they were reading.
We imagine just about everyone's hand went up just then. And if this isn't something you've said to students, it's incredibly likely they've heard it from someone else.
A student's ability to "sound words out" is actually supported by orthographic recognition (can they recognize the patterns they see) and their ability to blend phonemes.
First things first, what are phonemes?
Phonemes are the smallest unit of sound in English speech.
Essentially, they are sounds. Sometimes, phonemes are represented by individual letters (like the c, a, and t in "cat"). Other times they are digraphs or trigraphs (like sh saying /sh/ or tch saying /ch/).

If a student can figure out that C says /k/, A says /a/, and T says /t/, in the word cat, they’ve accomplished the first step.
Why do we need to teach phoneme blending?
Awareness of phonemes is just step 1. Students also need to be able to hold phonemes in their minds and blend them together in order to read.
If they can’t put /c/ /a/ and /t/ together, they are going to struggle with word-level reading.
Struggles with working memory, sequencing, and blending are going to impact a student’s ability here.
As a quick aside, we get asked a lot about whether or not to teach blends. Blends are two letters that often go together but make their own sounds. For example, "bl" is seen together in words like blue, black, blank, blend, blemish, etc. The argument for not teaching blends is that students can focus less on memorizing phonics patterns and just work on blending the sounds.
This can work for some students! Other students may struggle with blending. By putting two sounds together (so "black" goes from /b/ /l/ /a/ /k/ to /bl/ /a/ /k/), it helps reduce the amount they need to blend together, making the word easier for them to decode.
How do we support phoneme blending?
When students are learning to blend sounds, we start by having them blend two sounds. As students get better at this, we add more sounds to our blending drills. This allows them to build their auditory memory and blending ability.
For students who really struggle with auditory memory, pairing letters with sounds can be helpful. We like to color-code them for additional visual support. Be sure that you only use as many “counters” (chips, letter cards, etc.) as there are sounds, not one for each letter.
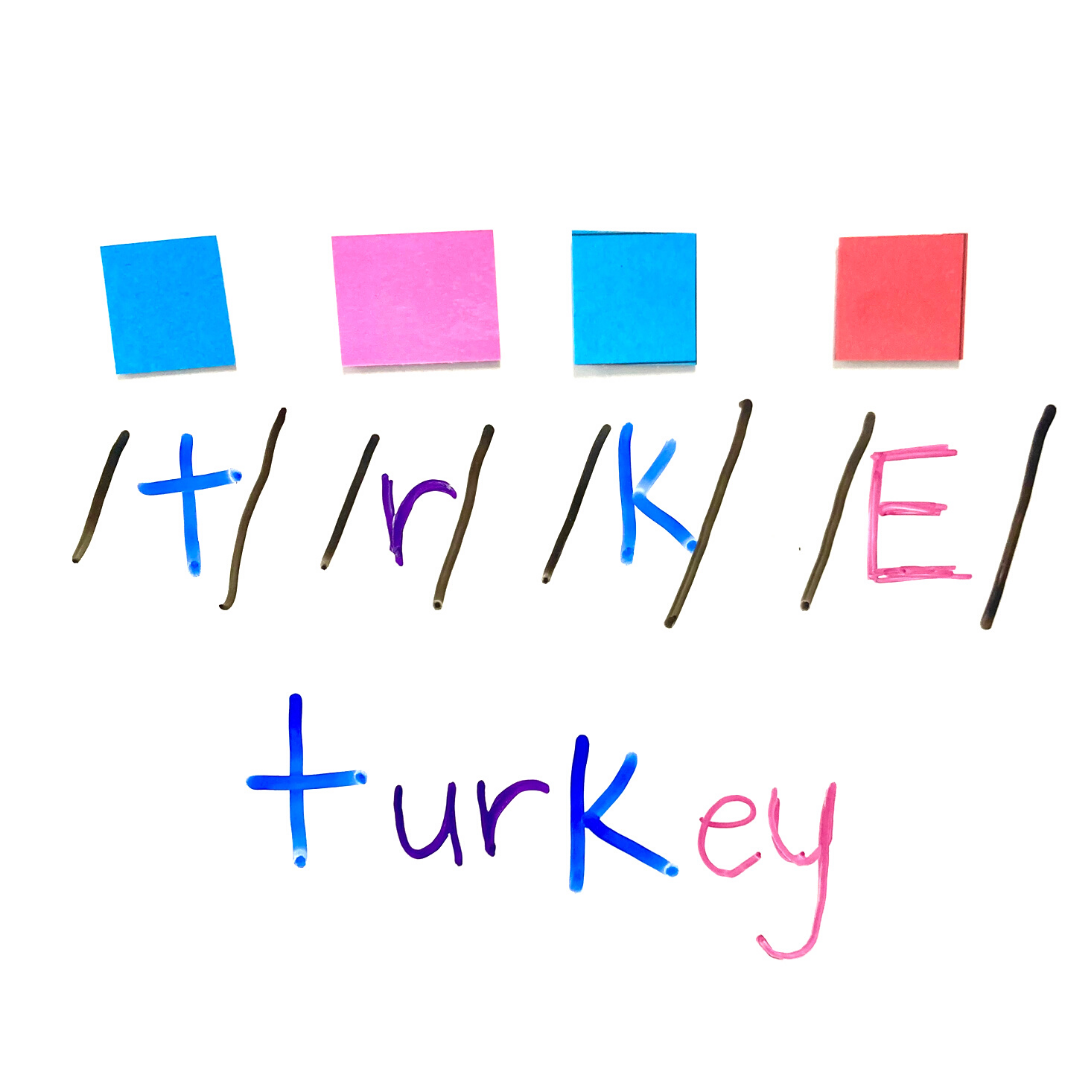
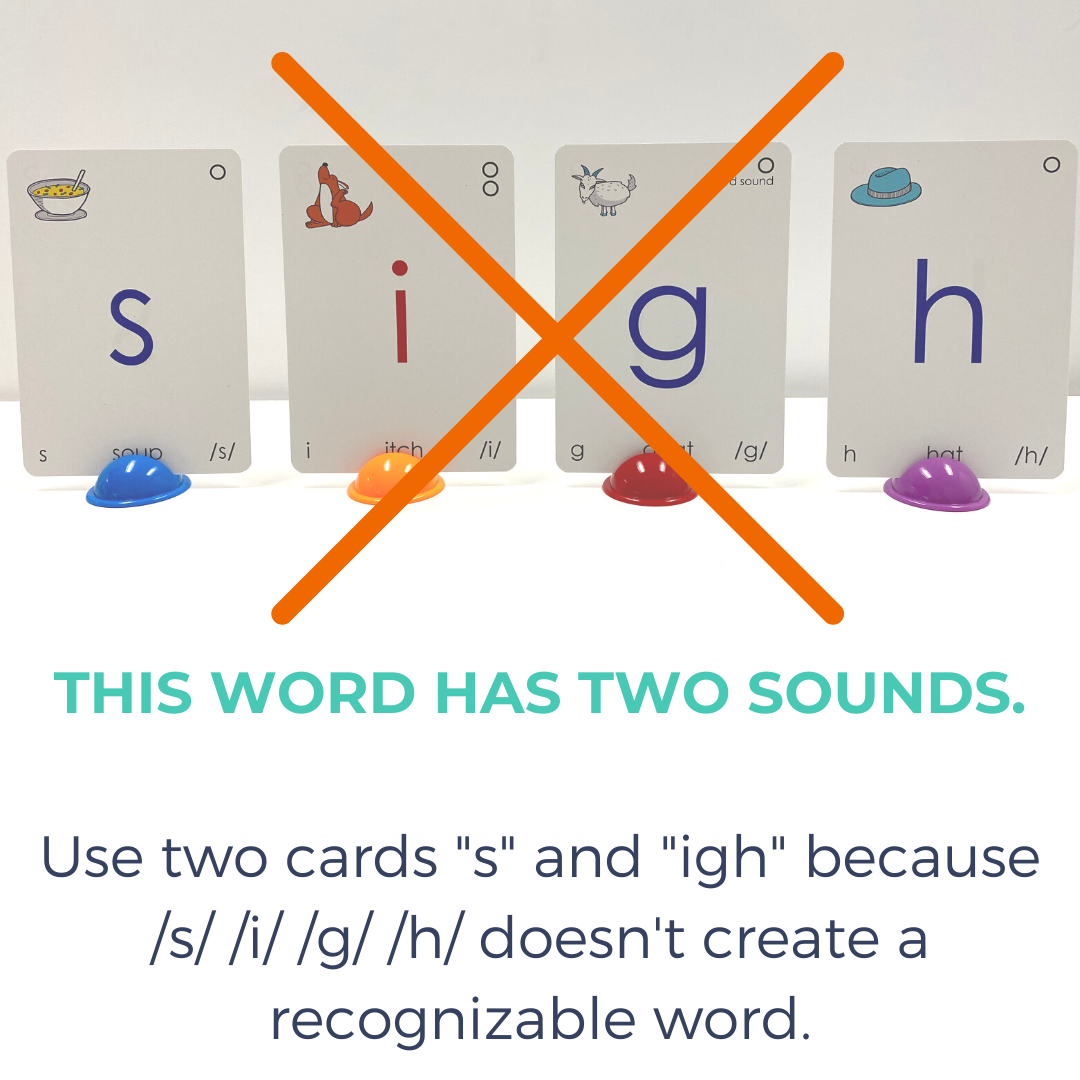
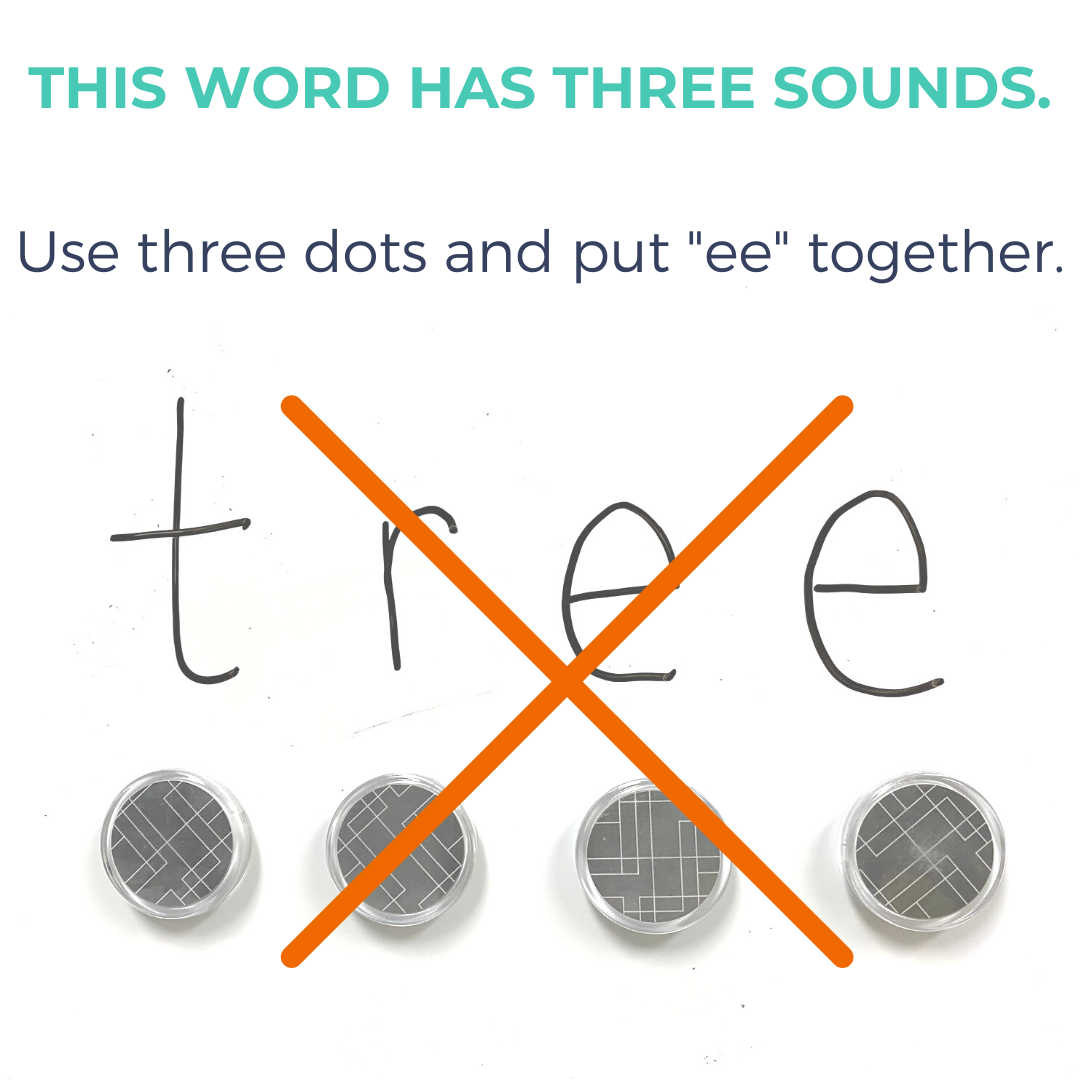
Now, as we will mention again and again, this should be a quick activity or center-based activity in your lessons. This should not be a focus for an entire lesson, as there are definitely additional valuable skills you need to make sure to fit in.
If you're interested in learning more about how to fit it all in - you can check out our blog >>here<<.
Parting Thoughts
When students struggle to blend sounds together, “sound it out” may not be enough. They often need explicit practice holding sounds in their minds and putting them together to read a word. The good news is that this practice doesn’t have to take up an entire lesson. A few intentional minutes can help students build the skills they need while keeping reading and spelling at the center of instruction.
If you’d like a practical way to make that happen, our on-demand training, Building Phonological Awareness that Actually Supports Useful Skills, walks you through the key phonological awareness skill areas, how to choose what to target based on student needs, and how to build a simple, flexible routine into the reading instruction you’re already doing. You’ll see the routine modeled with a real student and learn how to connect sound work directly to reading and spelling.
You’ll also receive the Phonological Awareness Toolkit, including an editable 10-Part PA Drill, task cards, games and activities for differentiating instruction, progress-monitoring records, grade-level benchmarks, and “Creating the PA Bridge” guides that connect phonological awareness to reading and spelling. The training includes a one-hour PD certificate and lifetime access to the materials, so you can revisit the routine and resources as your students’ needs change.
Check out the video below to see a blending drill in action.
Double-click to edit...